
How could a toy photo become a brick build?
A retro robot illustrates Pynu’s in-development photo-to-build idea and what makes a good starting photo.
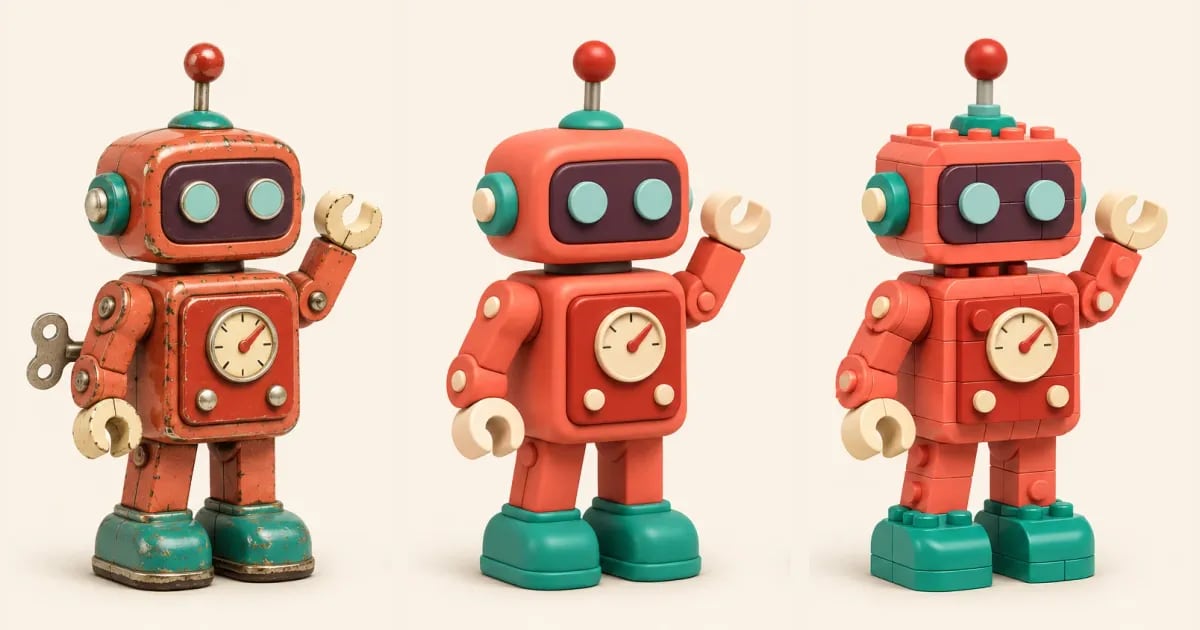
Imagine putting a wind-up robot on your table and taking a photo. You can see every scratch in the paint. When it’s time to rebuild it in bricks, the two round eyes and the short antenna are more likely to make it recognizable. Finding those details is the fun part of the change.
Start with a clear outline
Put the object on a simple surface, keep its edges out of deep shadow, and leave a little room in the frame. In the robot example, you can see the feet, both arms, and the antenna. A clean view from an angle makes the overall shape easier to read.
Keep the character as you simplify the 3D shape
The scratches disappear in the 3D example. The body proportions, eyes, and raised arm are still there. Those are the details worth keeping when you decide which bricks to use. Reproducing every scratch would do little to make the robot more recognizable.
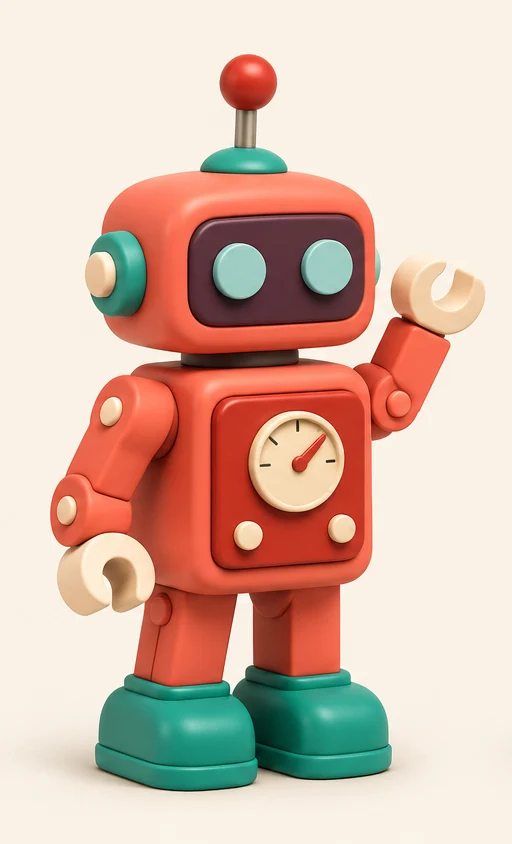
Turn the shape into pieces someone could place
The harder part is figuring out how the bricks connect and which order a player would place them in. The robot illustrates that goal. Creating playable models from your own photos is still in development.